
Shrovetide Mask Drawings: 7 Templates and Ideas for Kids

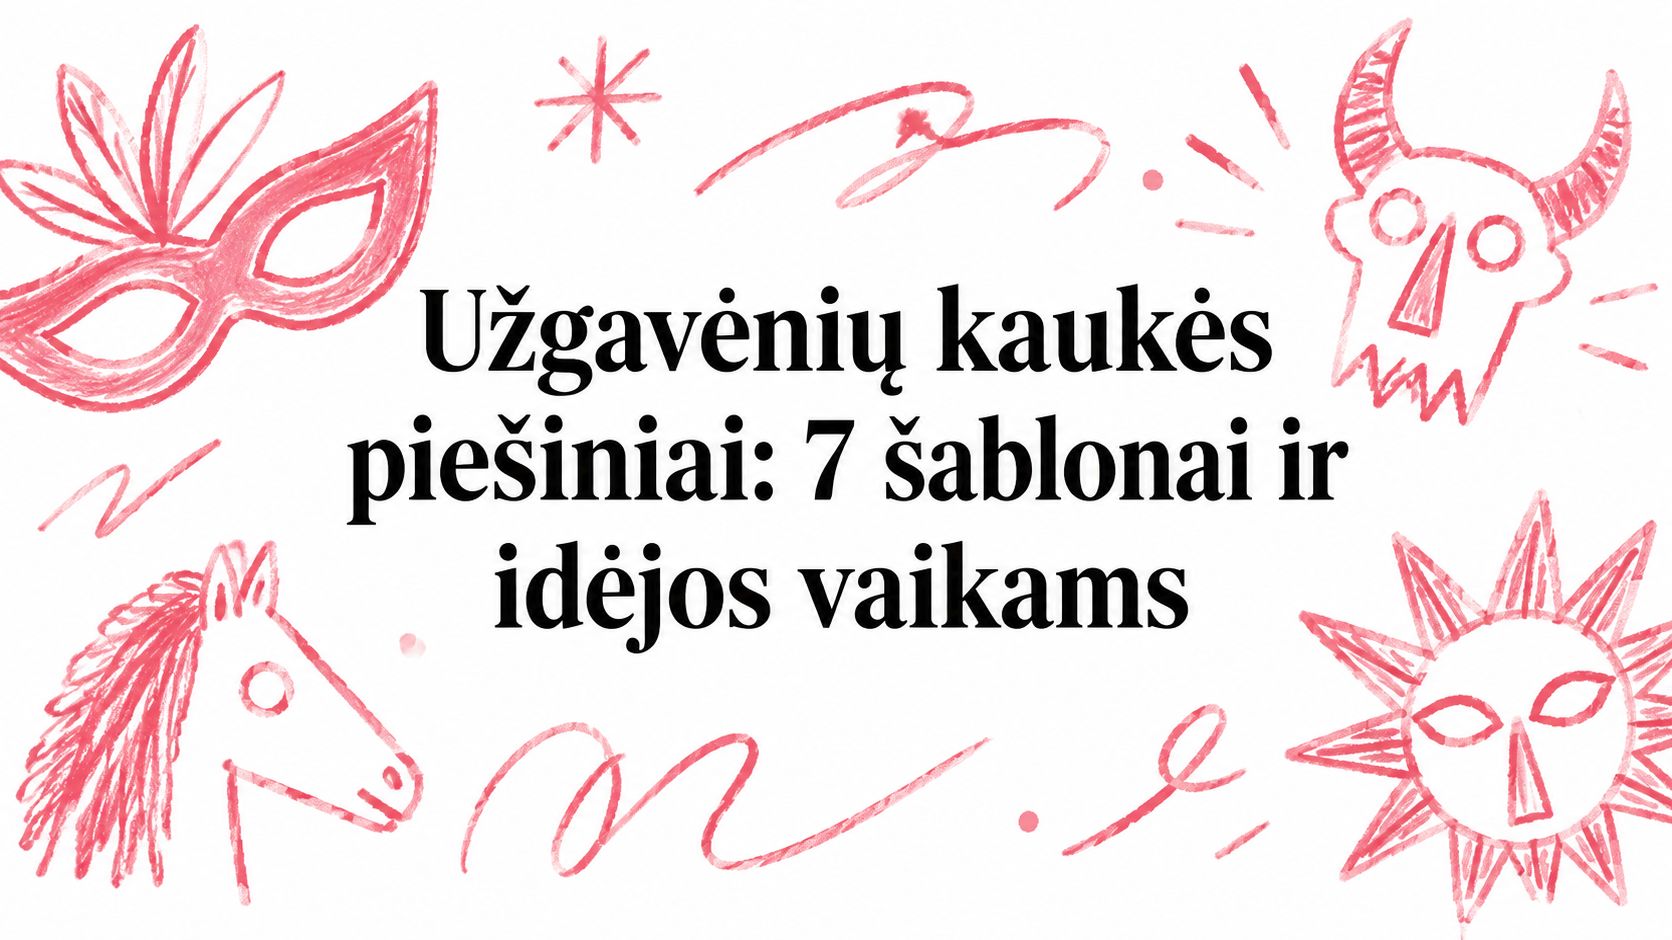
A Shrovetide mask for a child can be a colouring sheet, a cardboard template or a real mask that they draw themselves and then wear. The most beautiful outline is not always the most suitable one: a three-year-old needs a different task than a fourth-grader, and a twenty-minute activity needs something different from a two-lesson project. We describe seven ways, from the simplest to the most complex, and how to run each one in a classroom or at home.
Shrovetide is celebrated on the eve of Ash Wednesday, 47 days before Easter. In 2027 it falls on 9 February, so it is worth planning mask workshops at school or kindergarten for late January or early February.
1. Traditional mask template
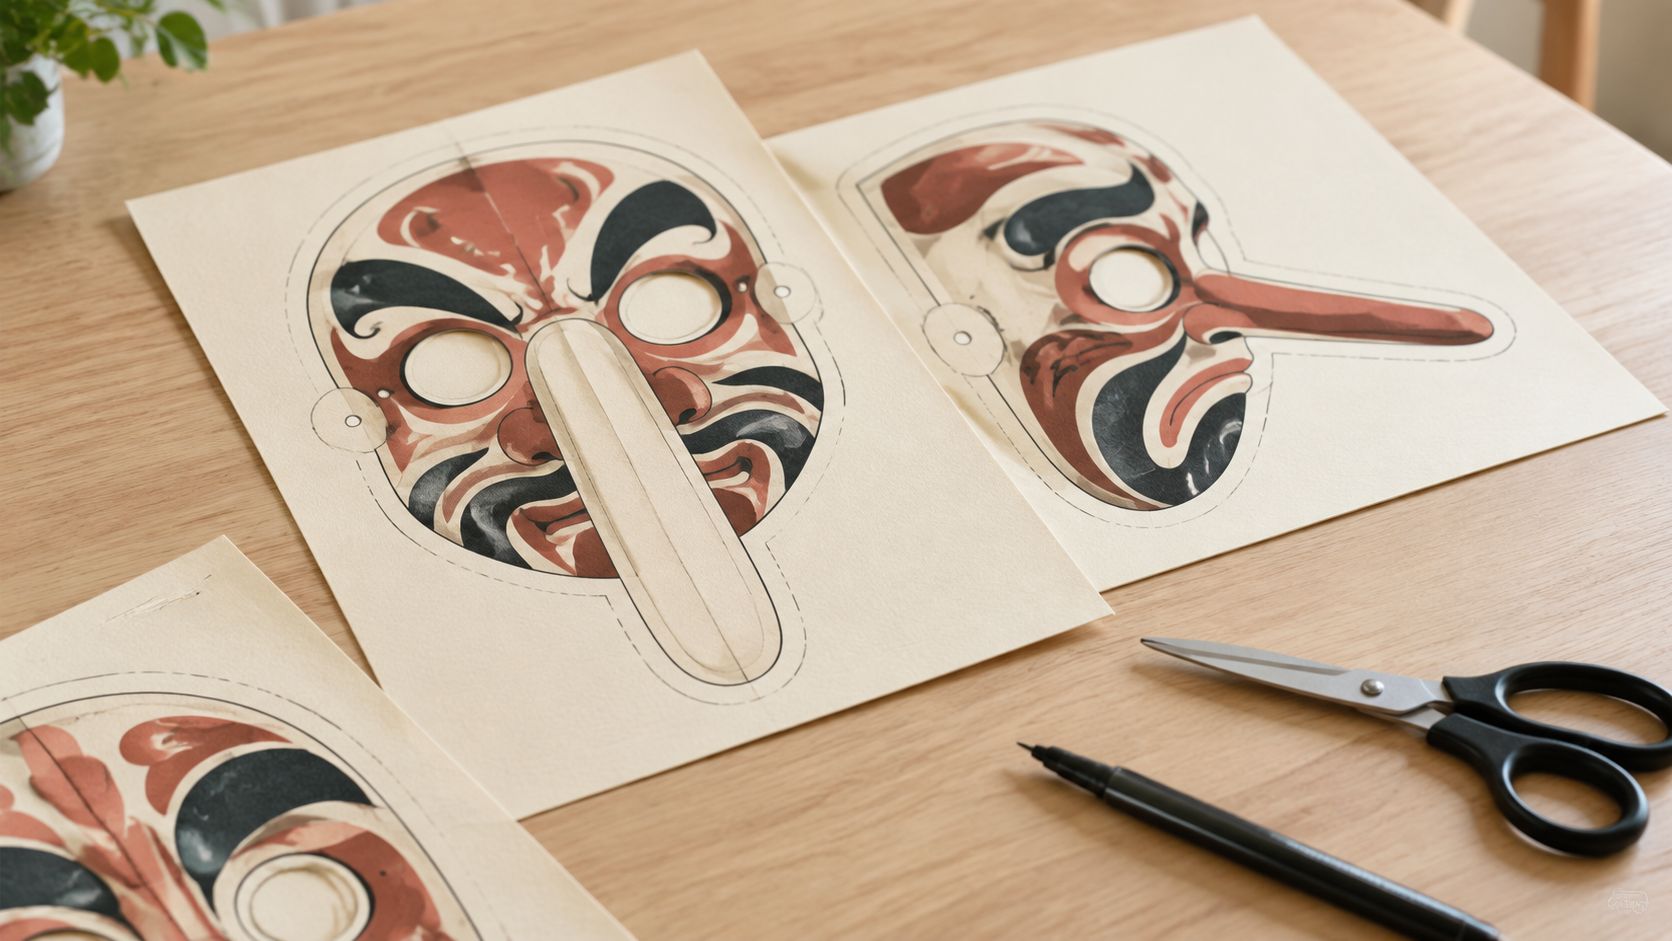
The traditional template suits when you want children not only to cut out a face shape, but also to recognise the features typical of Lithuanian Shrovetide masks. Old Shrovetide masks feature deliberately exaggerated faces: massive noses, large mouths, moustaches, a fur or wood texture. In Samogitia such masks are called “ličynos”, and the Shrovetide exhibition in Plateliai, near Plunge, displays more than 300 of them (Visit Plunge).
The teacher can show a few outlines and ask children to notice how a human face, an animal’s face and a mythical creature’s face differ. Then pupils colour, cut out and add moustaches, paper fur patches or cardboard details to the template. In a large class it is easier to have three or four basic models, so that the results still look different.
How to prepare the printable base
Print on thicker paper or thin cardboard; for children up to 7 years old, A4 is enough. Check that the eye openings are clearly marked and that children will not have to cut out tiny outlines.
A practical rule: let children colour and decorate the flat mask first, and only then cut it out. The edges stay cleaner and the silhouette is clearer.
Attach the elastic band or ties under adult supervision. It is best to punch the holes in advance, and reinforce the attachment points with a small piece of cardboard or sticky tape.
2. Colouring sheets with mask motifs
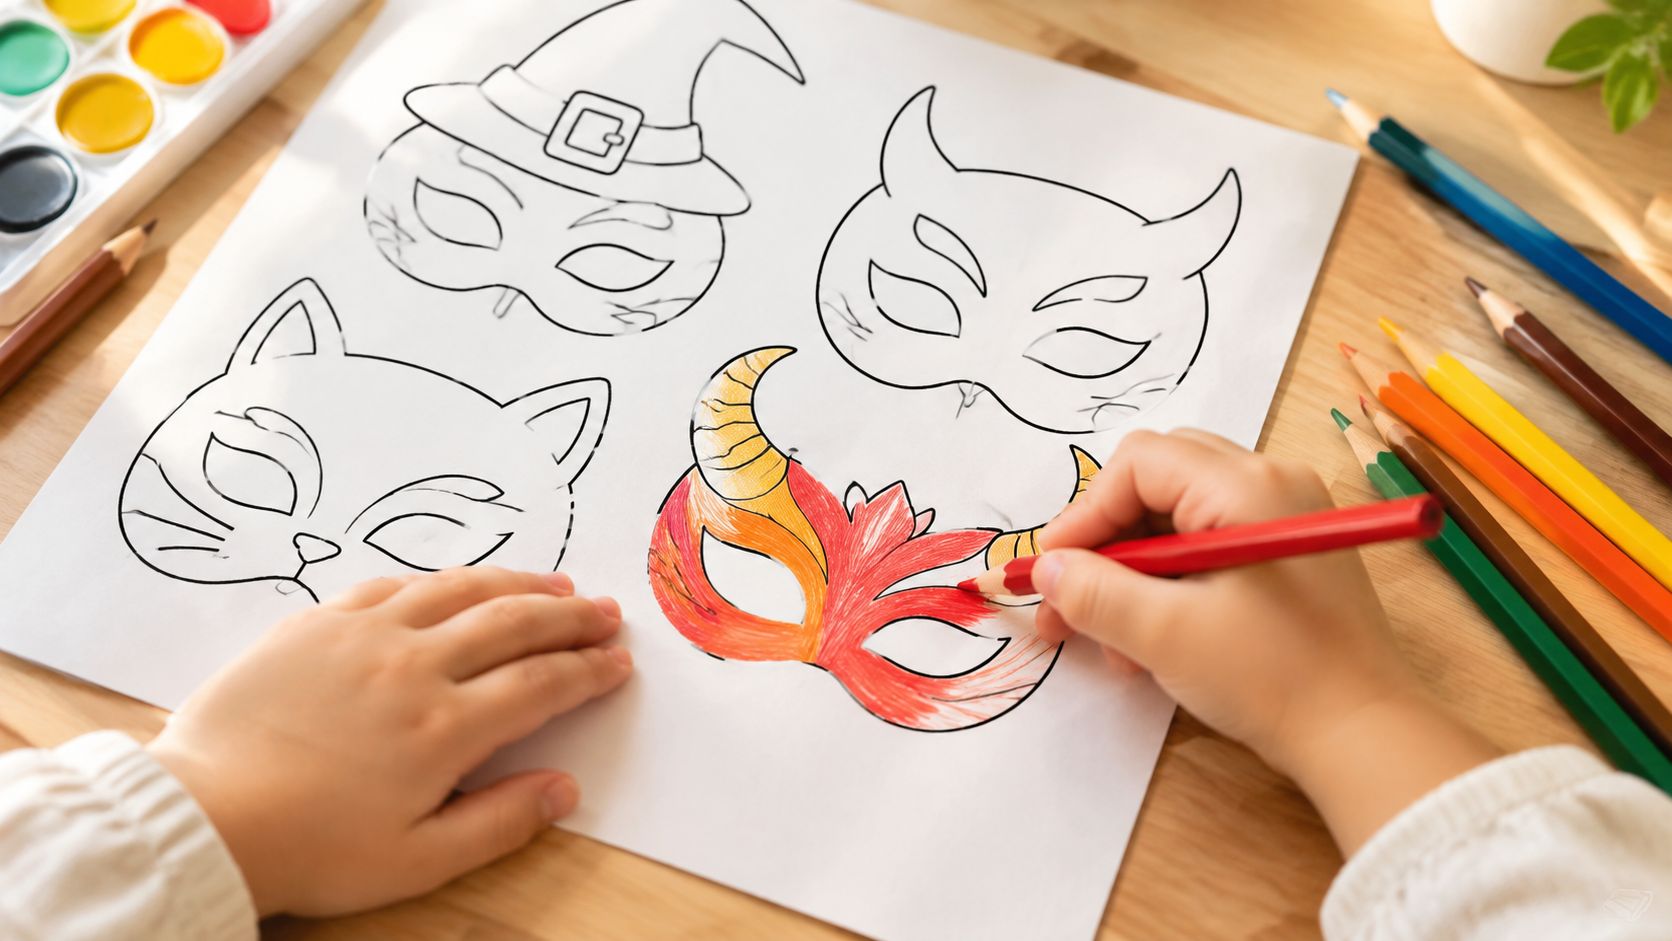
A colouring sheet is the simplest start for younger children, or for a class where pupils’ drawing skills vary widely. The outline helps children overcome a blank page, and the teacher can discuss together why Shrovetide characters have horns, tusks, long noses and tousled hair.
Colouring can be a trial run before a real mask. The child chooses the colours, describes the character they are creating, and later draws the mask on cardboard following their own sheet.
Turning colouring into a lesson
Before handing out the sheets, briefly show the differences between animals, mythical creatures and village characters. The oldest masks depicted animals and mythical creatures linked to the cycle of nature and to driving out winter.
- Colour study: try with pencils, markers or watercolour how colour changes the character’s mood.
- Character description: under the drawing, the child writes what the mask represents and what makes it stand out.
- Class gallery: the coloured sheets become a Shrovetide decoration, and each child briefly presents their work.
- Moving on to the mask: based on the best sheet, a sturdier, wearable version is created.
3. Drawing step by step
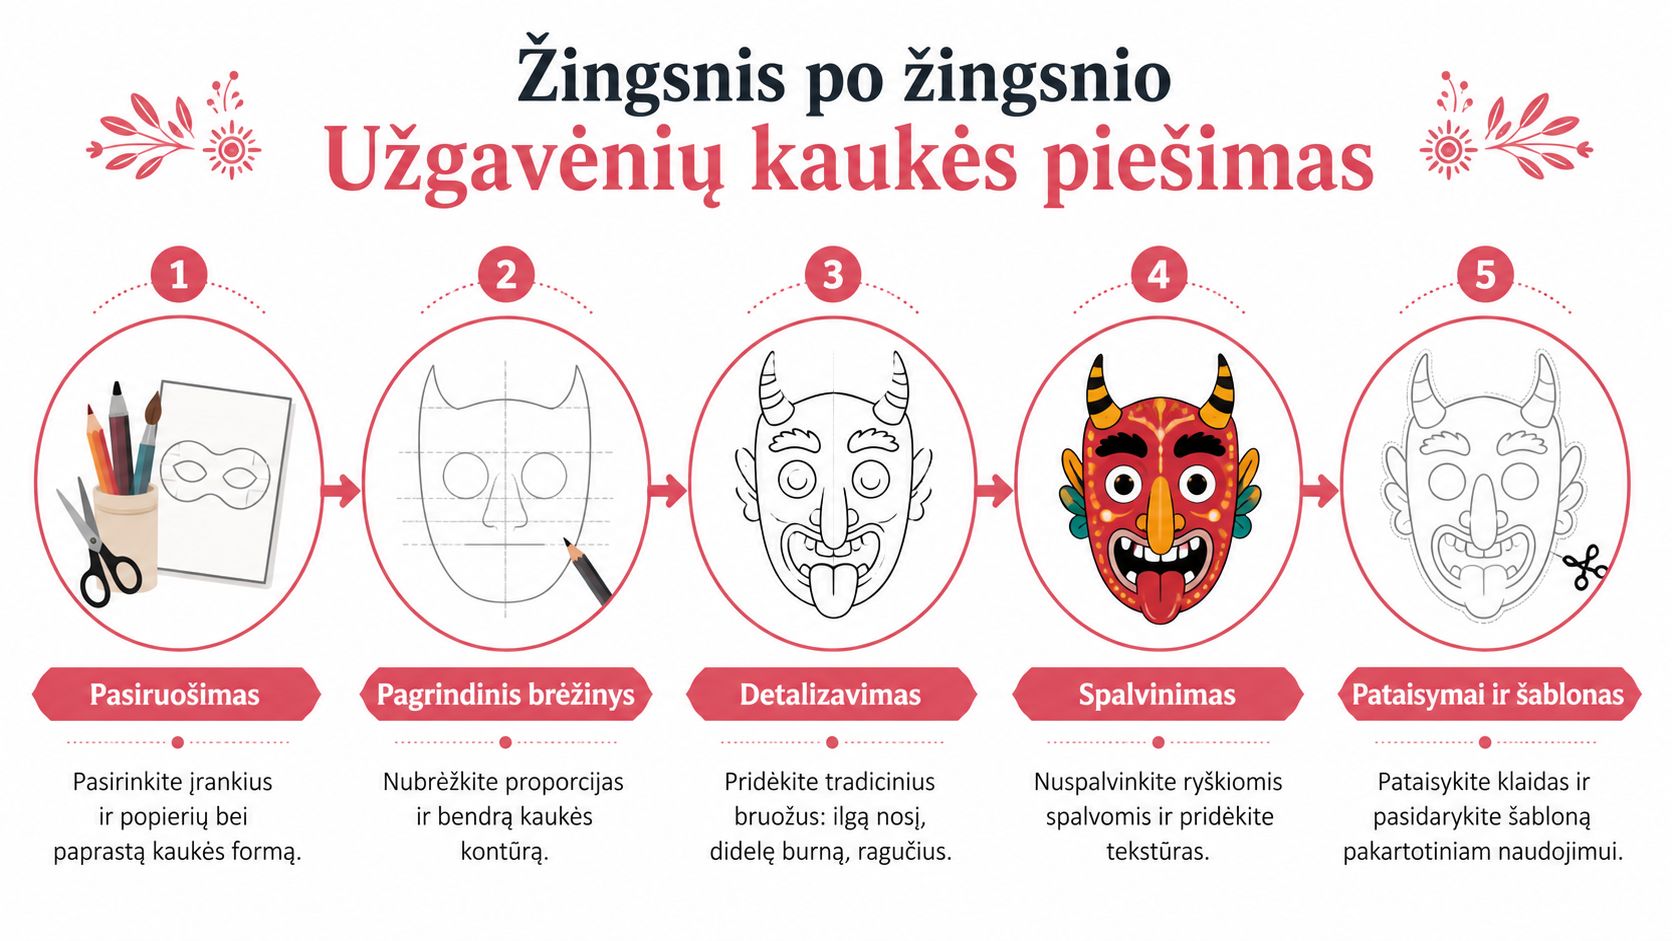
When a child wants to create their own mask rather than colour a ready outline, a clear sequence on the board helps. The task is split into small steps, so even those who say “I can’t draw” feel more confident.
Simple sequence for children
- Basic shape: a circle, an oval or an angular face.
- Eye line: one horizontal guide line across the middle of the face.
- Recognisable feature: a long nose, horns, tusks, moustaches or an animal’s ears.
- Texture: show fur, bark, feathers or a beard with short lines.
- Colour: two or three main colours and one bright colour for the most important detail.
A traditional mask does not have to look like a proper portrait. Let children draw asymmetrically, exaggerated, even slightly rough, because that is exactly the essence of a Shrovetide mask. For younger children, you can prepare a partial outline that they finish with their own features.
Shape comes first, decoration second. If the mask will be worn, mark the eye openings and fastening points on the drawing in advance, so that children do not cover them with decorations.
4. A museum photo as a starting point
A photo of a museum exhibit helps you study one specific mask rather than a generic “carnival face”. Children notice the material, the roughness of the surface, the asymmetry and which details stand out from a distance. Suitable for art, ethnoculture or integrated lessons.
A task based on one photo
Show the mask and ask the children not to copy it. Let them pick out three features, the nose shape, the surface texture and the colour mood, and create a new character.
- Shape: is the face round, angular or elongated?
- Material: what does the surface resemble, wood, fur, bast or cardboard?
- Character: what person, animal or creature does the mask depict?
- Visibility: which detail would stand out in a group of costumed children?
Shrovetide masks in Lithuania were made of wood, bast, fur, linen fibre, paper and cardboard. This can become a practical activity: with different lines in the drawing, imitate bark, fur or crumpled paper. When museum photos are shared publicly, permission should be arranged with the institution.
5. Drawing on a ready white mask
If time is short and you want to wear the mask in the procession too, there is no need to draw and cut templates. The white face mask designed for drawing is made of thick cardboard and already has an elastic fastening, so the most interesting part for children, the character, is left to them. They can paint on it with markers, pencils or paints, and glue on fur patches, wool or feathers.
First the child sketches on paper, then transfers the main lines onto the mask in pencil, and only then colours. Let the paint dry well before putting the mask on the face, and fix glued details so that they do not climb over the eye openings.
When this method suits
- For a procession or a courtyard celebration, where the mask has to hold for several hours.
- For older children who want a more detailed result.
- For family workshops at home, when parents create the mask together with the child.
6. A list of characters for ideas
When a child does not know which character to choose, a short list helps. The traditional Shrovetide procession most often includes devils, witches, goats, cranes, bears, horses, Death, Lašininis (Lard) and Kanapinis (Hemp). Each has a recognisable feature from which it is easy to start drawing.
Features to start with
- Devil: horns, pointed eyebrows, red or black colour.
- Witch: long hooked nose, warts, tousled hair.
- Goat: beard, horns, elongated muzzle.
- Crane: long beak, grey or white colour.
- Bear: round muzzle, small ears, brown fur texture.
A costume can be completed not only with a mask. Red devil horns, a witch’s nose or a cloak from the Shrovetide category complement the mask the child has drawn and make the character recognisable from afar. You will find more ready-made masks in the face masks category.
When searching for ideas online, remind children that a drawing they like is an inspiration, not a template to copy. Creative work should have its own solution.
7. Folding mask with volume
If you want to go from a drawing to a wearable mask with volume in one lesson, choose a template with folding lines. A raised nose, eyebrows or cheeks are formed from a flat sheet, and the child sees how a drawn detail becomes relief.
This task suits children who can already follow multi-step instructions. For younger ones, an adult cuts out the main parts in advance, and the children are left with colouring, folding and simple joining.
Safe assembly
Before the lesson, assemble one example yourself. You will see whether the instructions are clear, whether the fastening points hold and whether the mask restricts vision. The eye openings must stay open and the edges must not be sharp.
Safety check before wearing: field of vision, comfort of breathing, stability of the fastening, and whether any decorations come unstuck.
Which method to choose
| Method | Suitable age | Time | Result |
|---|---|---|---|
| Colouring sheet | 3-6 y. | 20-30 min. | Class decoration, preparation for a mask |
| Traditional template | 5-9 y. | 40-45 min. | Cardboard mask for short wear |
| Step-by-step drawing | 6-12 y. | 45 min. | Own character on paper |
| Museum photo | 8-12 y. | 1-2 lessons | Cultural discovery and a new character |
| White mask for drawing | 5-12 y. | 45-60 min. plus drying | Sturdy mask for a procession |
| Folding mask | 8-12 y. | 1-2 lessons | Mask with volume |
The time is approximate and depends on the group size and how much work you prepare in advance.
Prepare practically before the activity:
- Paper: a thickness that children can cut through, but which will still hold its shape.
- Tools: scissors suited to the age, glue, ties, protection for the table.
- Drying time: if you paint with paints, leave the masks until the next day.
- Trial model: assemble one example and check whether it is safe to wear.
When the masks have dried, put together an exhibition and attach to each one a card with the character’s name and the author’s name. Parents will enjoy looking at them, and the children will recognise the characters in next year’s procession.
 Table Decorations
 Party Accessories
 Christmas Costumes